Installing Linux Mint 22 on my 10 year old laptop
Step-by-step guide in installing Linux Mint on old laptops.
A few months ago I did a fresh install of the latest version of Linux Mint on my ten year old laptop. At the time version LM 22.1 was the latest or at least the stable one. I always use MATE desktop since my laptop is old and I want a faster desktop with less GUI. As of this writing, there is already a 22.3 version. Prior to this installation, I was using version 20 that reached its EOL. Another reason I formatted my disk and made a fresh install was that some of my system files got corrupted. Partly, I blamed AI for it. I was also running out of disk space and wanted to remove the Windows OS that I had never used for a long time occupying some disk space.
The Linux Mint official website is well documented enough and can be easily followed when installing LM. I have done this many times and the easiest way is to create a bootable USB stick with the chosen OS image you have selected. It is safe to just get the latest version and choose from Cinnamon, MATE or Xfce. You can get the list of versions from this page.
Booting from the USB stick
When you boot from the USB stick with the downloaded ISO image of Linux Mint you will get a look and feel of the OS immediately. Linux Mint is not yet installed on your computer so your hard disk is intact and untouched at this point. You would see how the desktop would look like. In the screenshot below, it is the MATE desktop of LM 22. Other desktop editions would look different. Cinnamon UI is more full but is quite heavy for old laptops. Xfce is the most lightweight but looks too old style in design.
 Linux Mint 22 Desktop from the bootable USB installer
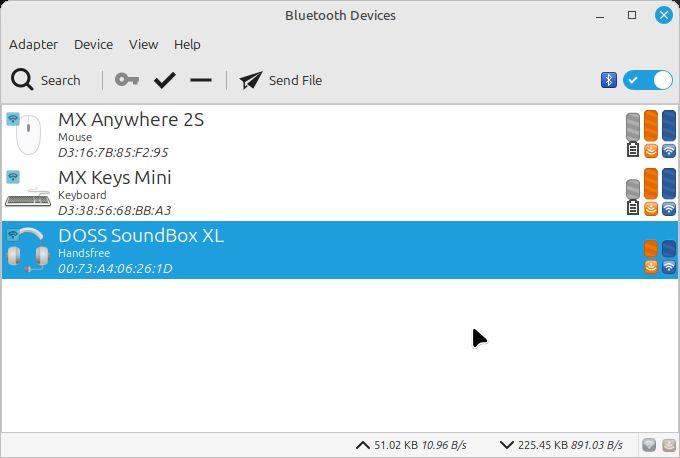
At this point, it is recommended to test your different hardware devices to see their compatibility. Common issues in Linux are audio, wifi, and bluetooth. I would advise to test these devices before proceeding with the installation. Make sure you can connect to the internet via wifi. There is a default Firefox browser installed in the OS image so you can test watching a YouTube video, for example. In this way, aside from internet connectivity you can also test the video and audio devices. Open also the bluetooth manager and check if you can connect your devices like keyboard, mouse and speakers.
Here’s a screenshot of the bluetooth manager in Linux Mint.
 Linux Mint 22 bluetooth manager
Installing Linux Mint
After testing your devices and you’re happy with the results and your chosen Linux desktop, proceed with the installation. In the Desktop screen on the top left, there’s a CD icon labeled Install Linux Mint. Click that to start the installation.
A welcome screen will be displayed and this is when you start configuring your installation. Start with choosing your language and the keyboard layout.
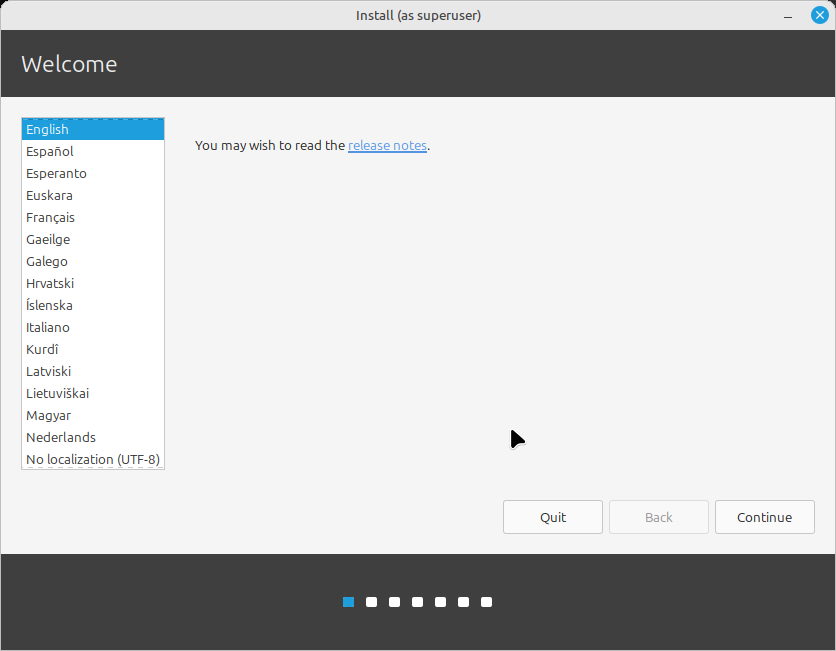 Linux Mint 22 language selection
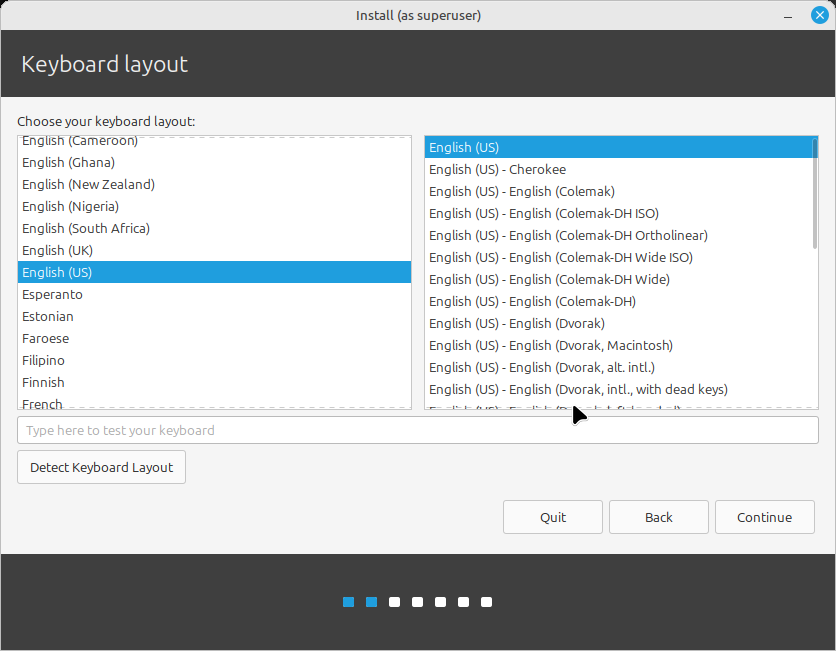 Linux Mint 22 keyboard layout selection
Then when asked for the multimedia codecs, install it to have a wide range of compatibility with playing videos and audios. 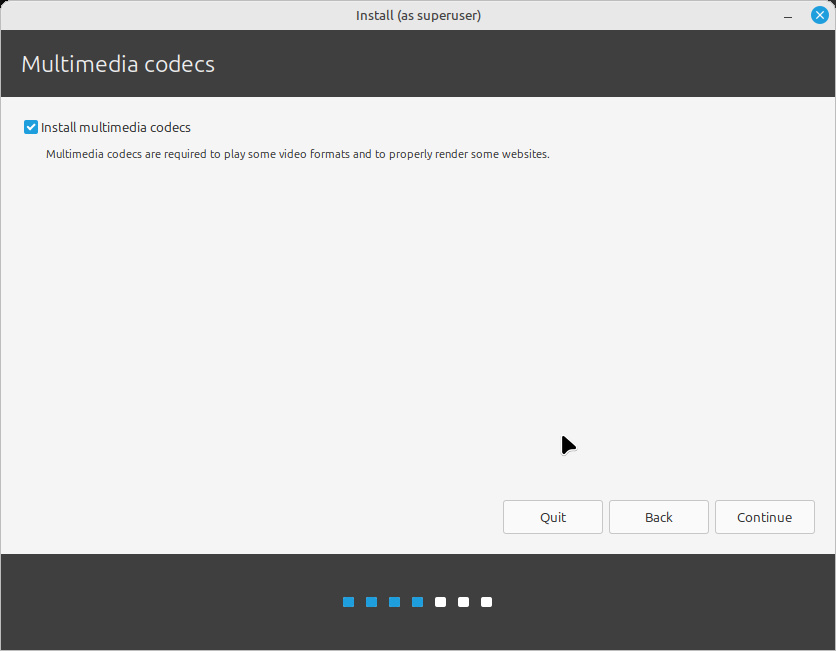 Linux Mint 22 installing multimedia codecs
Managing the partition table
In the beginning, I mentioned that this was a full installation with the intent to wipe out my existing disk. I wanted to repartition, reformat and fully remove the Windows so my laptop would be all Linux without the dual-boot option.
The installer would detect that your disk is mounted with another OS. In my case it was the old Linux Mint 20 and Windows. I chose to unmount and repartition.
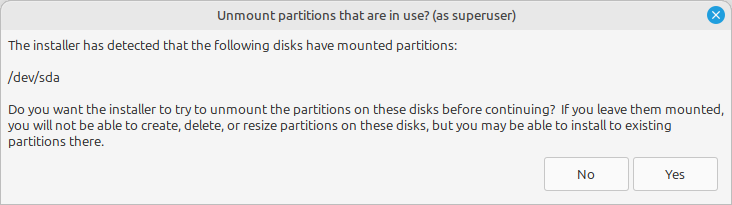 Linux Mint 22 unmount partitions message
Choosing the install type is the crucial part. This decides what will be done to your disk and its current data.
Make sure you BACKED UP your data before proceeding.
If I remember correctly, the default option is to erase and install Linux Mint as shown in this screenshot.
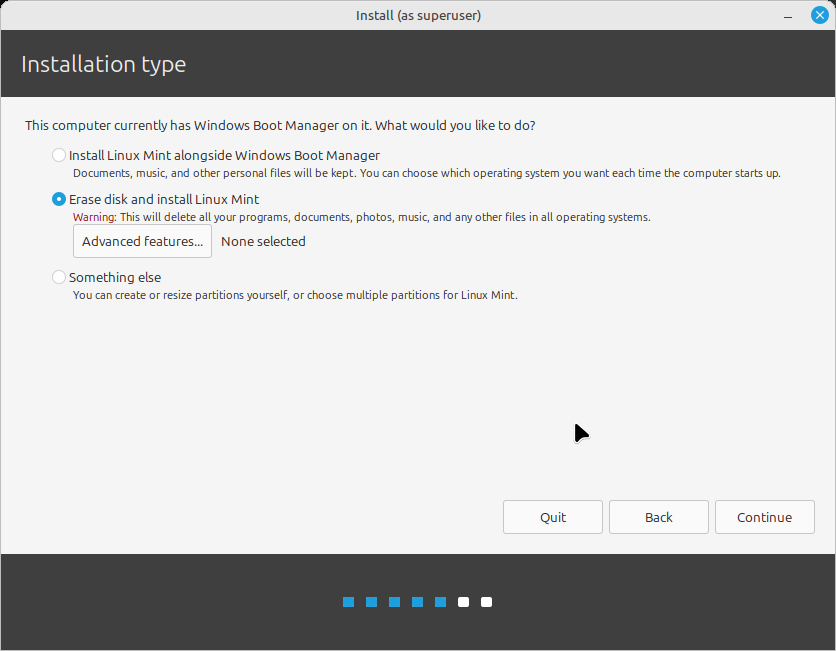 Linux Mint 22 install type selection
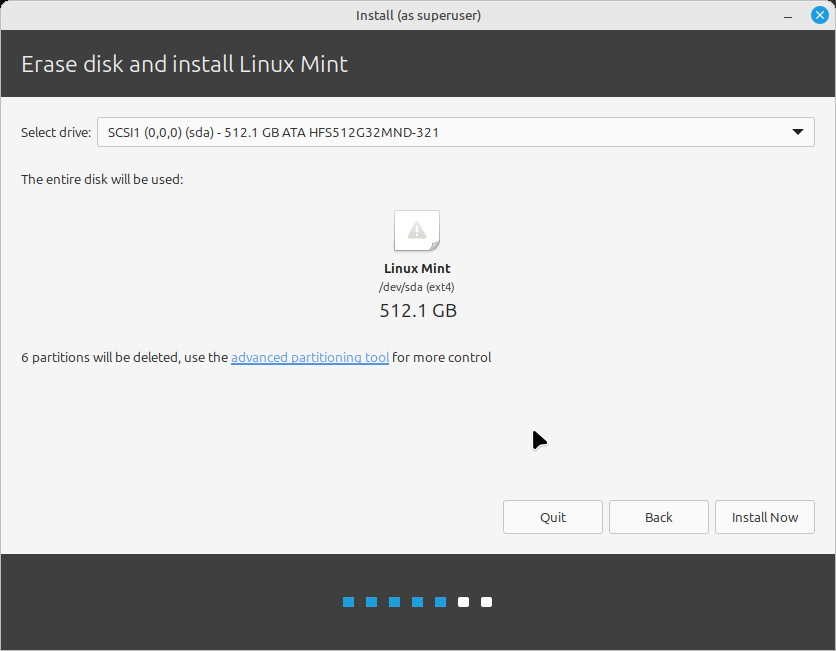 Linux Mint 22 erasing disk for a full install
However, my case was to manage my own partition so I selected the Something else option.
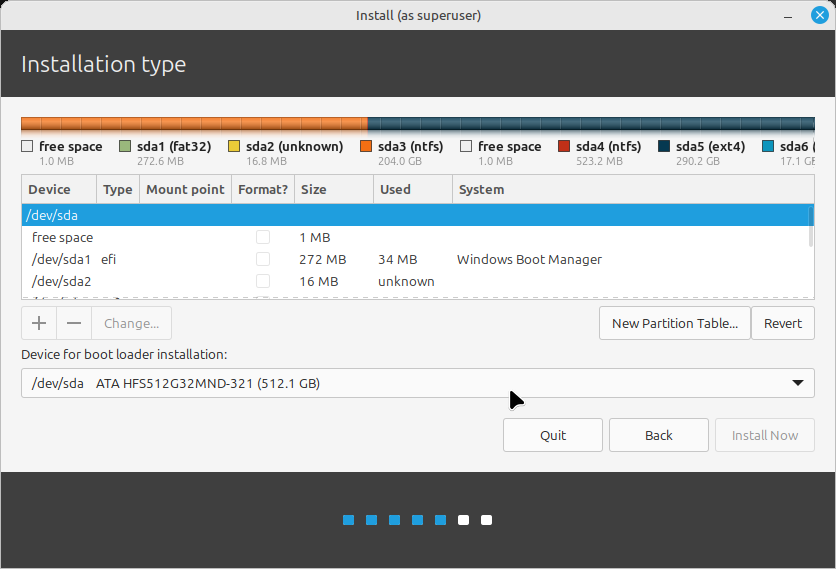 Linux Mint 22 managing the partitions
My disk of 512GB was partitioned in the following manner:
| Partition | Size | File system | Description |
|---|---|---|---|
| EFI | 1GB | fat32 | partition used when the computer starts up |
| Swap | 4GB | linux-swap | for additional memory, optional |
| OS | 80GB | ext4 | / folder, Linux Mint system and other applications installation |
| home | 400GB | ext4 | /home folder, user data where documents, photos, etc will be stored |
I prefer to separate my home folder with the system files in the root folder. If later my system files get corrupted again, I can install a new Linux in the OS partition without touching my home partition.
Currently, here’s how my partition table looks like in GParted after months of usage.
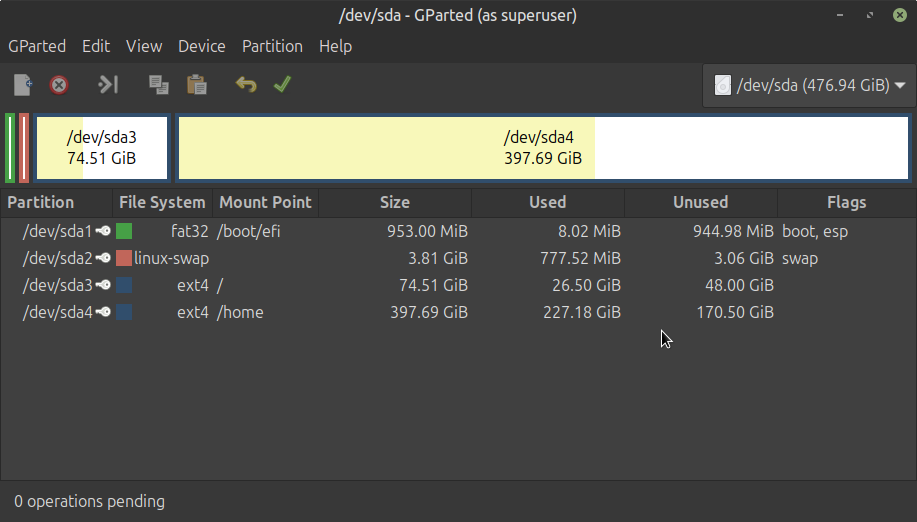 Snapshot of my partition table in GParted in Linux Mint 22
After deciding how much you want to allocate per partition, click Install Now.
A message warning will ask you to confirm that your data will be deleted and the new partition will be written. Again, check and confirm before you proceed.
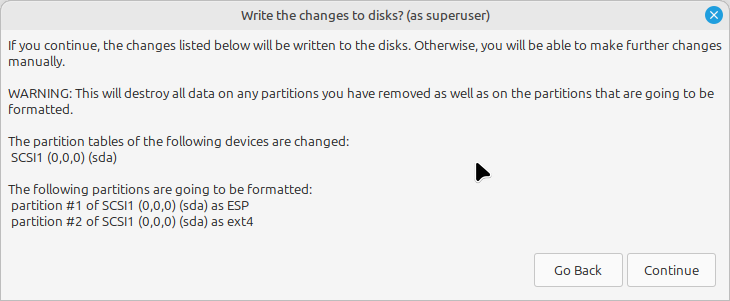 Linux Mint 22 writing partition confirmation warning
Installation Continues
The Linux Mint installation will continue and ask for more configuration like your location and creating the first user with username and password.
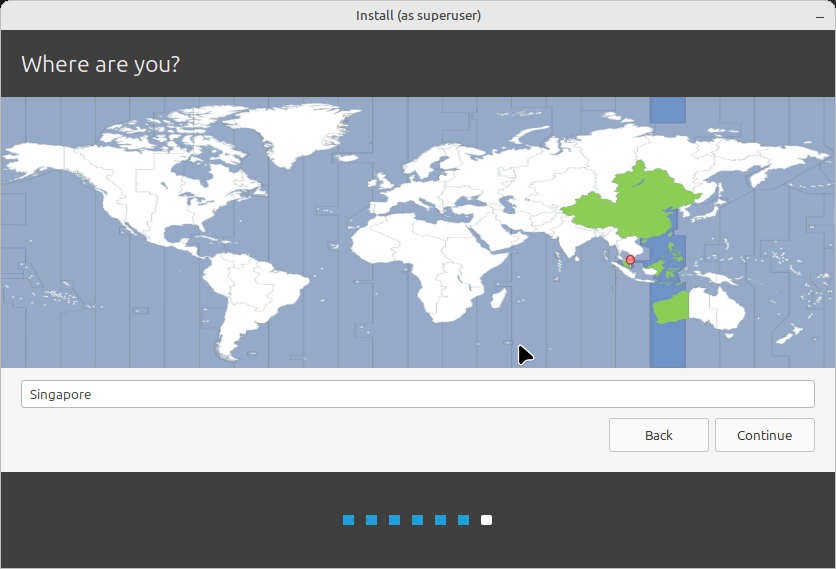 Linux Mint 22 choosing location
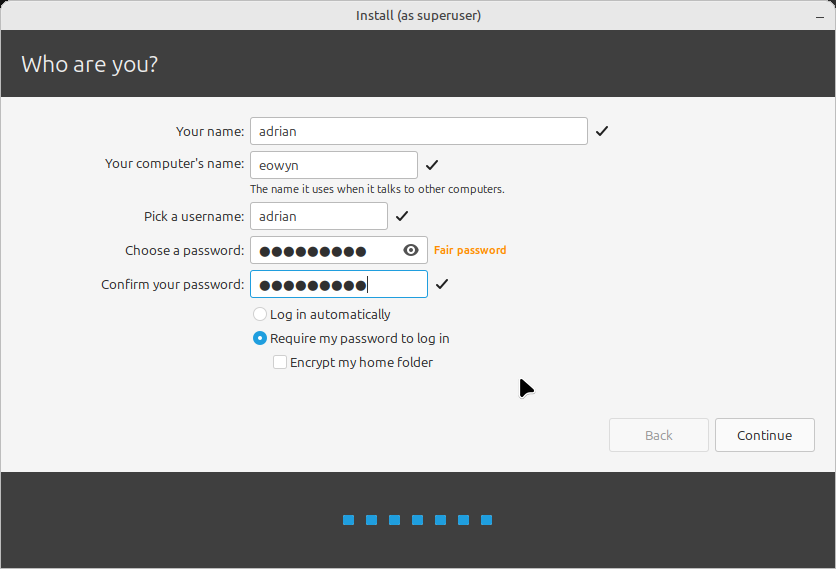 Linux Mint 22 entering user details
Then the actual writing to disk happens. The OS will be installed with system files, drivers and bundled applications. This will take several minutes and a progress bar is displayed.
 Linux Mint 22 installation with progress bar
You will also see the new feature highlights of the Linux Mint version your are installing.
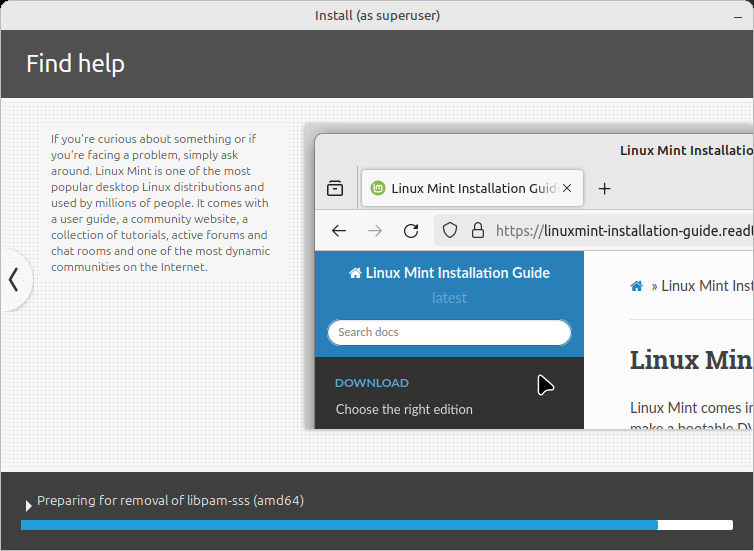 Linux Mint 22 features on display during installation
Finally a message prompt that says the installation is complete.
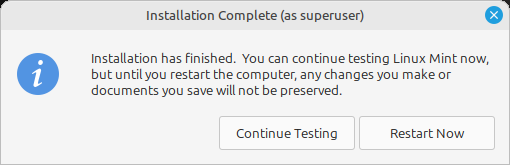 Linux Mint 22 installation complete message
Restart with the newly installed Linux Mint
Click Restart Now to fully complete the installation. Remember to remove the bootable USB stick to boot from your newly formatted hard drive with Linux Mint installed.
Comments powered by Disqus.